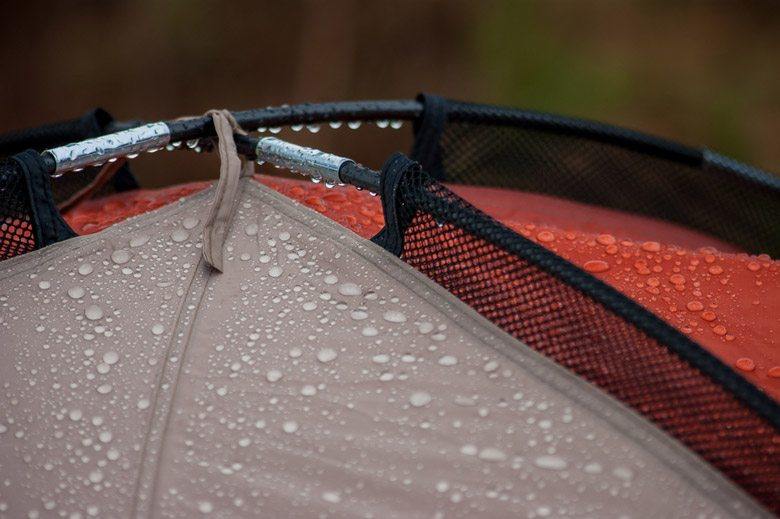
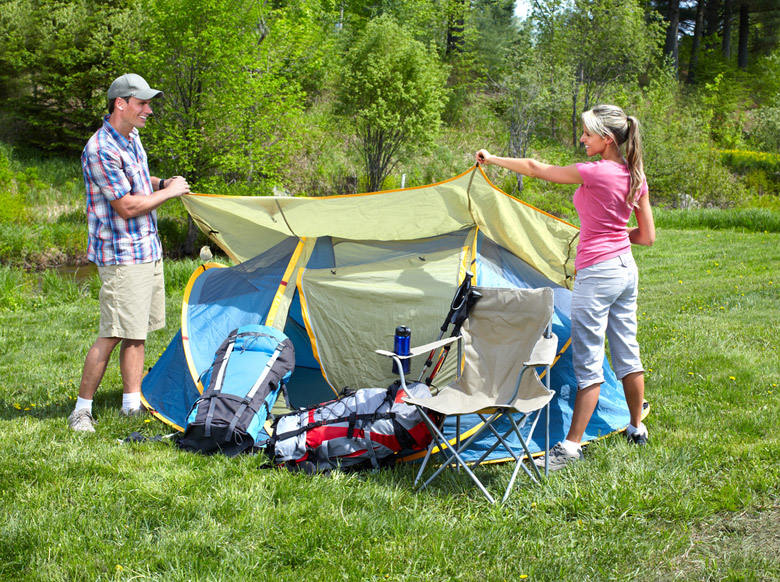
Are you in a situation that you need to weatherproof your tent? If you are, then you’re lucky because I’ll teach you how to weatherproof a tent in just 5 easy steps. It’s actually smart to weatherproof your own tent because buying a new one might cost you a few hundred dollars.
Why weatherproof your tent? The answer is simple- to protect you from any kind of bad weather, especially rain. I actually did mine a few weeks back and the result was satisfying. For complete instructions, keep on reading.
More...
What You’ll Need
For Waterproofing

For Cleaning

Sponge
You’ll need a non-abrasive sponge to clean your tent before you apply the waterproof solutions. The sponge will gently remove any soiled areas on your fly and floor. Unlike the rough-surfaced sponges, a soft sponge won’t tear your tent’s fabric.
Water
You’ll need water to lather the soap. For spot cleaning, I recommend that you use lukewarm water because it helps loosen solid dirt areas and preserves the integrity of your tent’s fabric. If you decide to clean the whole tent, use cold water in a tub.
Optional Cleaning Materials
Toothbrush
In the case of any flaky remains of old sealant, you may need a toothbrush to remove any of them. I recommend that you use an old toothbrush so you don’t have to spend another dime.
Rag
You’ll need a rag to wipe the seams clean. Before you apply the sealant, you need to clean the surface so you get a good bond of your new waterproof sealant. You can use any old piece of cloth available in your home.
Isopropyl Alcohol
You’ll be using the isopropyl alcohol to soak your rag for cleaning. The isopropyl alcohol will safely remove the remaining sealants on your tent by breaking down the old sealant layers.
You’ll normally find a few different strengths, either 40% or 70%, but it doesn’t matter much what you use. I recommend that you dilute 50% alcohol with 50% water to lessen the chances of streaking.
B. In case for mildews and mold
Enzyme Cleaner
Now if you find your old tent discolored and smelling musty, then probably some microorganisms have started to grow. To stop the growth of molds, use an enzyme killer but remember not to over scrub or it may ruin your tent’s fabric.
C. In case for pine sap
Unscented Powder
Actually, a pine sap is not a tent killer but this can be messy when ignored. If you have to deal with pine sap, use unscented powder. Alternatively, you can use mineral oil, wet wipes, or hand sanitizer.
Step-By-Step Instructions
Now that you get all things prepared, let’s get started!
1. Clean Your Tent
First things first, clean your tent. Your waterproof sealant won’t bond well to the fabric unless it’s clean and dry. Soak your soft sponge with water. Gently scrub the dirty parts by hand and pay great attention to coated areas.
If you have some peeling remains of old sealant on the seams, remove them with a toothbrush. Dip your rag with isopropyl alcohol and wipe the seams clean. Let them dry for a few minutes.
For mildews and molds, gently scrub them away with an enzyme cleaner. If you have to deal with pine sap, sprinkle the affected area with unscented powder. You can also use wet wipes or hand sanitizer and rinse thoroughly with water.
2. Use A Tarp
One of the major causes of a leaky floor is the moisture from vegetation underneath your tent. To solve this issue, you need to put a tarp underneath. Aside from protecting you from wet floors, a tarp can also be used as a shield from pointy rocks.
The beauty of a tarp is it can also be used as a rainfly in case your tent doesn’t have one. Simply cover your tent with the tarp and secure it by placing rocks or stakes on the edges. Make sure that the tarp doesn’t touch the tent.
For visual reference, watch this video:
3. Seal The Seams And Any Tiny Holes
Most tents are made with factory taped seams. Although this is better than nothing, water can still seep into the walls and floor. To apply, simply put a generous coat of seam sealer in long, even strokes.
Allow the sealant to dry for about an hour and repeat the same process to seal any gaps. If you find some tiny holes in your tent fabric fix them with the seam sealer.
4. Apply Waterproof Spray On The Tent
Once all the seams are sealed, apply waterproof spray on the entire floor. Spray the waterproof solution to the floor and use a cloth to distribute it evenly. Allow the solution to dry completely.
Apply the waterproof spray on the walls the same way you did on the floor. Spray the walls with the waterproof solution and distribute evenly with the cloth. If your tent has a rainfly, don’t forget to spray with some waterproof solution, too.
This time, you may not apply too much solution because your cloth might already soak with too much solution. Simply squeeze the solution out of the cloth and apply onto the wall or the rainfly. Let it dry for a couple of hours and you’re ready to go.
5. Check For Leaks And Reapply As Needed
When the seam sealer and the waterproof spray dry completely, check for more leaks. Simply set your tent under a sprinkler and look for leaks. If you see one, reapply it with the sealant.
You may want to reapply your tent with the waterproof spray and seam sealer before each trip. This is even more important if your tent has encountered some rain from your past trip.
Pro Tips
Final Thought
There you go people, five easy steps on how to weatherproof a tent. It’s actually easy and affordable to weatherproof your old tent than to buy an expensive waterproof tent for just a single trip. Just a few things - a tarp, seam sealer, and waterproof spray- then you’re ready to enjoy a great time your family and friends even with a bad weather.
If you’re tried weatherproofing your tent, tell us what you think about this article in the comment section. Please share this article with your friends if you like it.
Leave a Reply