So let’s say you and your buddy went to the fishing store and bought a pack of worms. And in your fishing trip, you’ve used only a few worms, and you have a lot left over. But you know that in a couple of weeks or months you’re going on another trip and use the worms again. So you don’t want to throw them away.
Well, there are several ways to keep those creatures alive. In this article, we’re going to have a quick and comprehensive discussion on how to keep night crawlers alive; even if you have, you want to keep it alive for months. It utilizes items that you can find every day inside your home.
More...
I. Why Keep Night Crawlers Alive?

Worms are fantastic baits for fish. You can obtain them and take care of them easily. It’s important to keep them alive and mobile because fish prefer worms that are active. They are very alluring prey for fish to catch on the water.
If you have a bunch of worms inside a container, then you’re off to a good start. But you may not be able to use all of them, and it would be such a waste if you just discard them after use. And that’s where keeping them alive is very important. You want to save time and resources for your next fishing trip.
And the good thing with night crawlers is that they are very resilient creatures. You can store them in the refrigerator for three to six months if you do it right. So that means you can have storage of night crawlers for future fishing activities.
Here’s more information about night crawlers in case you need it – Night Crawlers.
II. How to Keep Night Crawlers Alive
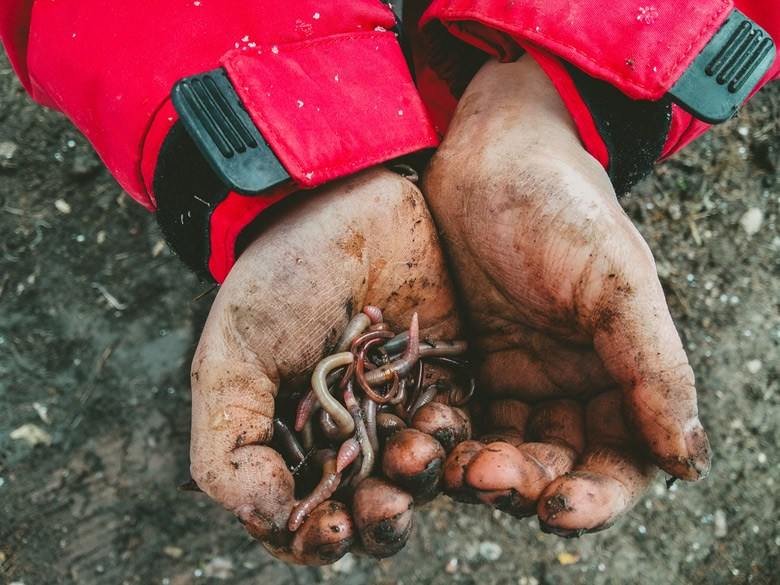
1. The Most Common Way of Doing It
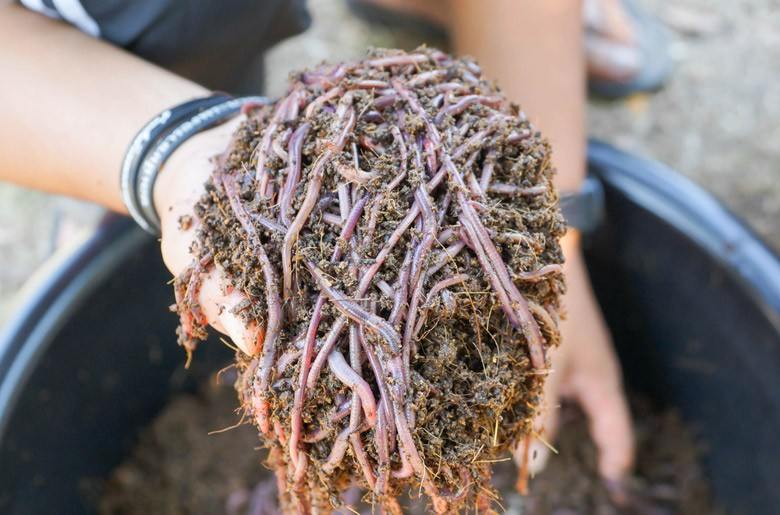
The whole process is easy to do if you have extra space in your refrigerator or a cool cellar at home.
Step 1 | What you can do first is create a simple home for your night crawlers inside a bucket. The mini-home can be composed of 1-inch leaves of several sizes and pieces. |
Step 2 | Add in a cup of sand over the bed of leaves. Then you need to add a page of shredded newspaper over and a cup of black dirt. |
Step 3 | Mix the contents and be sure that it is "fluffy" enough for the night crawlers to move through. |
Step 4 | Then add the night crawlers before putting the bucket inside the refrigerator or cool cellar. Be sure to do a check up on the night crawlers now and then to ensure the crawlers don’t freeze. Some sports inside the refrigerator are cooler than the others. |
Step 5 | Now that we have the crawlers at home with the leaves serving as their food source, all you need to do is add at least ½ cup of leaves that would last for a month every three weeks. |
2. Storing Worms inside the Refrigerator
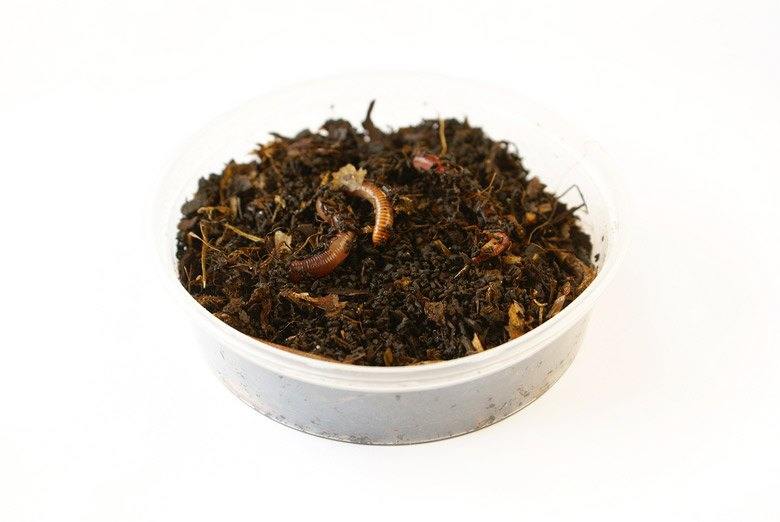
The technique is ideal for smaller amounts of worms that will become ready bait in a month. For instance, if your purchased a cup of worms for a planned fishing activity and wasn’t able to utilize every piece, you can keep the rest in the refrigerator for your next activity.
If you have a thousand worms contained inside a large box, then your must store the worms inside the box instead.
Step 1 | Put the worms inside a Styrofoam container or opaque plastic. If you’re using a transparent plastic container, then a light will penetrate the soil and disturb the worms. Be sure to include any newspaper shreds or soil that comes with the bait. If you purchased the worms inside a suitable container, then there’s no need for you to transfer them. |
Step 2 | Nourish the worms at least once a week. Spray 2-3 tablespoons of old, moist coffee grounds within the container. Try to spread the coffee all through the cup equally. You can also nourish them by spreading some teaspoons on top of the worms. You can buy enhanced worm food in the majority of shops. Wait until the worms consume all the food before feeding them again. Over-feeding the worms may lead to their deaths. |
Step 3 | Keep them in the refrigerator. Seal the container to keep the moisture and put the worms in the refrigerator. Check on them once every few days just to make sure they are fed and surrounded with moist. If the mixture seems dry, sprinkle some drops of water within the container to make the bedding moist again. |
3. Keeping Worms inside a Worm Box
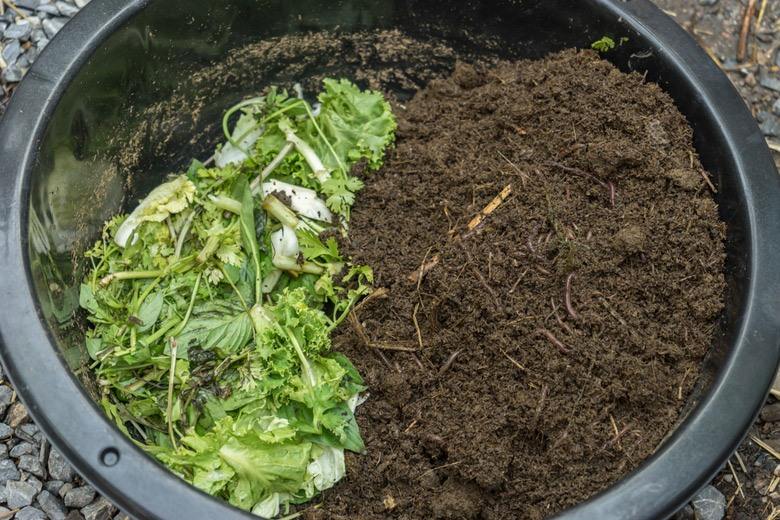
Prepare a big plastic bin. Select a bin that is big enough to contain all the worms. For a thousand worms, you must at least have a square foot of space. Drill holes at the bottom and sides of the bin for water drainage.
You can buy a big plastic concrete mixing bin or a plastic storage at the hardware or container supply store. You also have the option to build a wooden worm box if you don’t want to spend anything on the container.
Step 1 | Fill in some soil into the box. You may either buy commercial worm bedding or utilize a potting soil. The soil need not be wet but moist. A soil that is too wet may suffocate the worms. To test whether or not the soil is too wet, take a handful of soil and feel it with your hand by squeezing it. Soil that is properly moist releases only a few drops of water. If there are too many waters, then allow the soil to dry up before putting in the worms. Should the soil be very dry, spray and mix water into it with your hands. |
Step 2 | Put the worms inside the worm box. They will burrow their way through the dirt. The whole process may take at least an hour to do. If, after a few hours the worms are still crawling on the surface of the box, then the soil may be very wet, and you may need to put in more worms into the box. |
Step 3 | Keep the box inside a cool and shaded place. Whenever possible, conceal the worm box inside a shady outside area, with 2-inches of it on the ground. If there’s no way for you to keep it outside, then store it beneath your kitchen sink, inside a closet, or in the basement. |
4. Taking Care of Worms Inside a Worm Box
Feed them once a week. You can buy powdered food at the supply store on blend your food made up of eggshells, coffee grounds, and veggie scraps. In feeding the worms, spray some water on the worm food on top of the box. Don’t feed them if there are still foods left. Wait until everything is consumed before adding more food.
Don’t mix food with soil. This can be harmful to your worms. Don’t feed your worm the following – oil, bread, dairy products, meat, spicy food, citrus fruits.
Step 1 | Gather the worms once a month. Just reach inside the box and slowly scoop a handful of them. Put the worms in a sealed container while making sure that most of the soil remains inside the box. You can keep them in the refrigerator for a week, or harvest them immediately. |
Step 2 | Get rid of leftover worms that you no longer need in your fishing activity and cast them into the shady part of your garden. Gather them before feeding time to prevent mixing the soil with the food. |
Step 3 | Change worms within 3 to 6 months. If you take longer than that, the worms will die. Transfer the creatures from the box to the bucket. Scoop out all bedding or old soil and pour in new moist ones. When you’re done, put them back into the box. Wait for them to mix in with the soil before giving them food again. Old soil can be utilized as fertilizer for your garden. |
Here’s a video on the most common way to keep night crawlers alive:
Conclusion
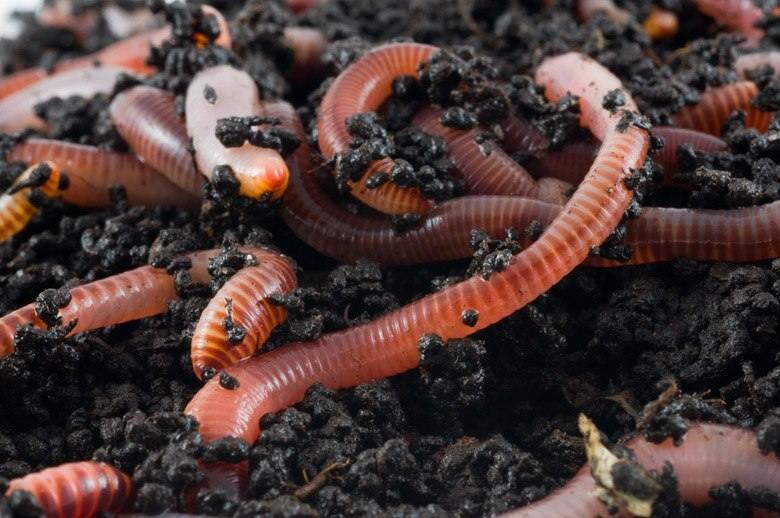
In keeping these worms, there are two factors you want to keep in mind. One is making sure they enjoy the ideal temperature, and the other is feeding them. If you’re only going to keep them for a couple of weeks, then there’s no need for you to worry about the first factor.
However, if you’re going to keep them for more than a couple of weeks, then you need to make sure they are shaded and moist. You also need to feed them. You want to keep these night crawlers inside your refrigerator as much as possible.
Leave a Reply